Table of Contents
If you have recently purchased web hosting or are just getting started with managing a website, you may have come across the term cPanel. For many beginners, logging into a hosting control panel for the first time can feel overwhelming. There are icons everywhere, unfamiliar terminology, and a seemingly endless list of features. However, once you understand what cPanel is and how it works, you will find it to be one of the most useful tools at your disposal. This cPanel guide is designed to walk you through everything you need to know, from the basics right through to the most commonly used features.
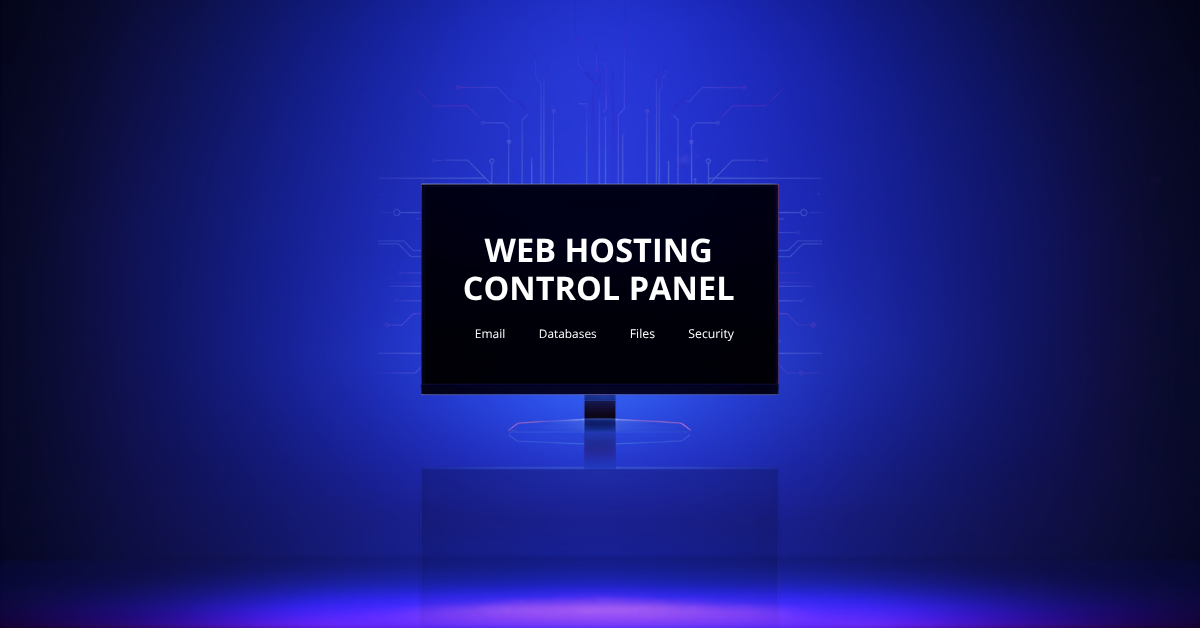
What Is cPanel?
cPanel is a web-based control panel that allows website owners and administrators to manage their hosting accounts through a graphical user interface. Rather than having to use complex command-line instructions to manage your website, cPanel provides a visual dashboard where you can perform a wide range of tasks with just a few clicks.
Developed by cPanel, LLC, this software has become one of the most widely used hosting control panels in the world. It is predominantly used on Linux-based hosting servers and is offered by the majority of shared hosting providers. Whether you need to create email accounts, install WordPress, manage databases, or configure security settings, cPanel brings all of these functions together in one centralised location.
How Do You Access cPanel?
Accessing your cPanel account is straightforward. When you sign up for a hosting plan that includes cPanel, your hosting provider will send you login credentials. You can typically access the control panel in one of the following ways:
- By navigating to yourdomain.com/cpanel in your browser
- By visiting yourdomain.com:2083 (the default cPanel port)
- Through a direct link provided by your hosting company in your welcome email
Once you enter your username and password, you will be taken to the main cPanel dashboard, where all the available tools and features are displayed.
Understanding the cPanel Dashboard
The cPanel dashboard is divided into several sections, each containing related tools and features. Whilst the exact layout may vary slightly depending on your hosting provider and the version of cPanel installed, the core sections remain largely consistent.
The Search Bar
At the top of the dashboard, you will find a search bar. This is particularly useful when you are just starting out and are not yet familiar with where everything is located. Simply type in what you are looking for, such as “email” or “database”, and cPanel will display the relevant tools instantly.
Files Section
The Files section is where you manage all the content stored on your server. Key tools in this area include the File Manager, which allows you to upload, edit, and delete files directly within your browser without needing an FTP client. You can also manage disk usage, set up backups, and configure FTP accounts for third-party access.
Databases Section
If your website runs on a content management system such as WordPress, Joomla, or Drupal, it will rely on a database to store information. The Databases section in cPanel allows you to create and manage MySQL databases, as well as access phpMyAdmin, which is a visual tool for working with database content directly.
Email Section
One of the most popular features of cPanel is its email management capabilities. From the Email section, you can create professional email addresses using your domain name, set up forwarders, configure autoresponders, manage spam filters, and access your inbox via webmail. Having a branded email address such as [email protected] adds a professional touch and builds trust with your audience.
Domains Section
The Domains section allows you to manage all domain-related settings. You can add additional domains (known as addon domains), create subdomains, set up redirects, and manage your DNS zone records. This section is particularly important if you are running multiple websites from a single hosting account.
Security Section
Keeping your website secure is essential, and cPanel provides several tools to help with this. You can install SSL certificates, manage IP blockers, set up two-factor authentication, and use the Hotlink Protection feature to prevent others from directly linking to your files and using your bandwidth.
Software Section
The Software section is where you will find tools such as Softaculous, which is an auto-installer that allows you to install popular applications like WordPress, Magento, and Joomla with just a single click. This section also includes tools for managing PHP versions, which can be important for ensuring compatibility with your website’s software.
Common Tasks You Can Perform in cPanel
Now that you have a better understanding of the different sections, let us look at some of the most common tasks that beginners typically need to carry out.
Installing WordPress
Using Softaculous in the Software section, you can install WordPress in a matter of minutes. Simply select WordPress, fill in your site details, choose your installation directory, and click install. This eliminates the need for manual installation, making it ideal for beginners.
Creating a Professional Email Address
Navigate to the Email Accounts tool within the Email section. Click on Create, enter your desired email address and a secure password, and your new email account will be ready to use almost immediately.
Setting Up a Backup
Regular backups are crucial for protecting your website data. Within the Files section, you will find the Backup Wizard, which guides you through the process of creating a full backup of your website, including files, databases, and email settings.
Tips for Getting the Most Out of cPanel
As you become more comfortable with cPanel, there are a few best practices worth keeping in mind. Always use a strong, unique password for your cPanel account and enable two-factor authentication where possible. Regularly check your disk usage to ensure you are not approaching your storage limits, and make it a habit to create backups before making any significant changes to your website.
For more in-depth guides on web hosting, domain management, and website administration, be sure to visit the DaManager blog, where you will find a wealth of resources aimed at helping website owners of all experience levels.
Is cPanel Right for You?
For the vast majority of website owners, particularly those on shared or reseller hosting plans, cPanel is an excellent choice. Its intuitive interface, comprehensive feature set, and widespread support make it the go-to control panel for beginners and experienced users alike. Whilst there are alternatives available, such as Plesk or DirectAdmin, cPanel remains the industry standard for good reason.
Final Thoughts
Managing a website does not have to be a daunting experience. With the help of this cPanel guide, you should now have a solid foundation for navigating your hosting control panel with confidence. From setting up email accounts and installing WordPress to managing databases and securing your site, cPanel puts everything you need right at your fingertips. Take the time to explore each section, familiarise yourself with the available tools, and do not be afraid to experiment. The more time you spend in cPanel, the more comfortable and capable you will become as a website owner.